Getting started
GearScout works best when you handle setup in two passes: configure the group in Settings, then move into day-to-day operations like inventory and reservations.
1. Set up the workspace
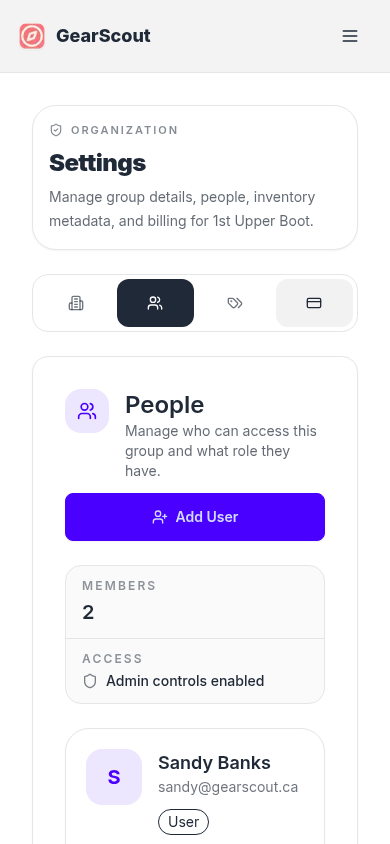
- 1Open Settings to confirm the group name and review who has admin access.
- 2Add teammates under Settings > People and choose the right role for each person.
- 3Create categories and locations under Settings > Inventory so the rest of the app stays organized.
If you have not purchased a plan yet, start on the pricing section first.
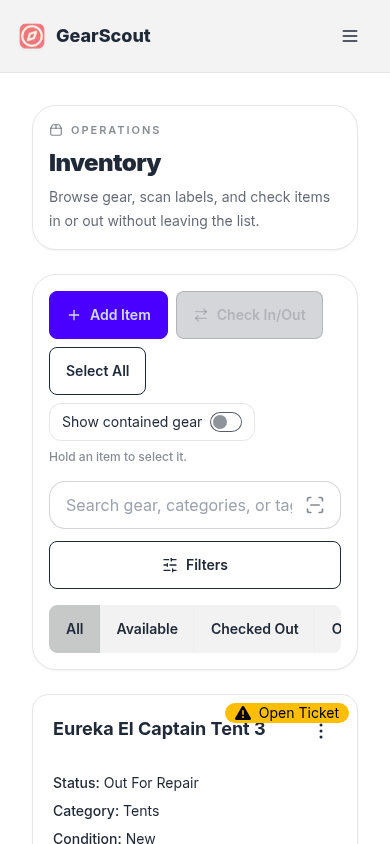
2. Add your first gear
Once the shared setup is in place, head to Inventory and start adding the equipment your group actually uses.
Recommended next steps
- Print labels from the inventory detail page or the labels guide.
- Create your first reservation if gear is shared between events.
- Review repair tickets so damaged gear does not keep circulating unnoticed.